Problem
How do I set up outbound SMTP on a Samsung SyncThru Web Service?
How do I set up outMail on a Samsung SyncThru Web Service?
How do I set up SMTP for scan-to-email on a Samsung SyncThru Web Service?
Solution
Setting Up Outbound SMTP on Samsung SyncThru
Samsung SyncThru allows you to configure email delivery directly from your printer or multifunction device, enabling features such as scan-to-email and email notifications. To use these functions reliably, you must configure an outbound SMTP server within the SyncThru web interface.
This article focuses specifically on outbound SMTP configuration, including the server address, port number, encryption method, and authentication details required to successfully send emails from a Samsung device.
What Is Outbound SMTP and Why Is It Required?
Outbound SMTP (Simple Mail Transfer Protocol) is responsible for sending email messages from your Samsung printer to external recipients. When you scan a document and email it, the device connects to an SMTP server to deliver the message; much like an email client such as Outlook or Apple Mail.
Without a correctly configured outbound SMTP server, common issues include:
- scan-to-email failing
- authentication errors
- emails stuck in the outbox
- messages being rejected or blocked by the mail provider
Using a reliable SMTP service ensures consistent email delivery from your Samsung device.
How do I set up outbound SMTP on a Samsung SyncThru Web Service
Follow the guide below to configure a Samsung using the SyncThru interface to send emails using the outMail service.
From a web browser navigate to the web administration for the Samsung.
Click Login from the top menu.
Log in as Admin and click LOGIN
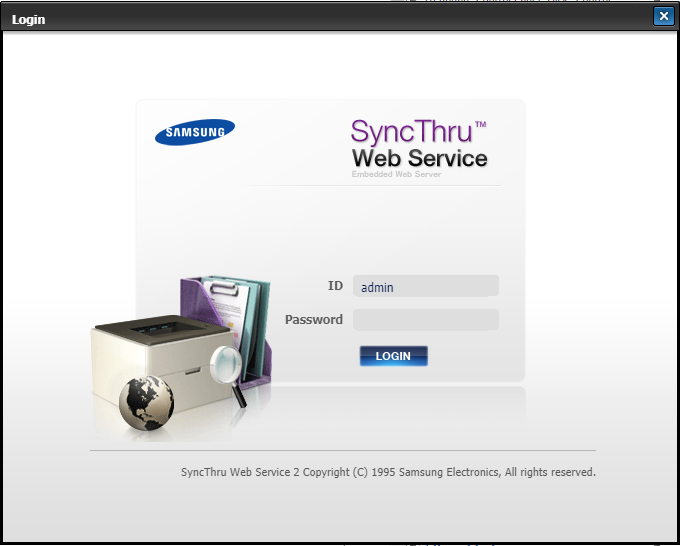
Assuming you haven't changed the default Administrator credentials for logging into the SyncThru™ Web Service, the default admin password is below. It is recommend you change the default password for security reasons, but that isn't covered in this knowledge article.
- ID: admin
- Password: sec00000
Once logged in navigate to Settings -> Network Settings in the top menu.
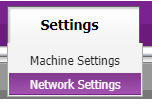
Using the left hand menus navigate to Network Settings -> Outgoing Mail Server (SMTP)
In the Simple Mail Transfer Protocol (SMTP) section enter the outMail server address provided to you in your welcome email in the SMTP Server field.
You can also (if necessary) enable Secure Email Connection with SSL/TLS encryption and change the Port Number.
In the SMTP Login Information section.
Enable the SMTP Requires Authentication in the checkbox.
In the Login ID field enter the assigned outmail-username, and in the Password field enter the assigned password.
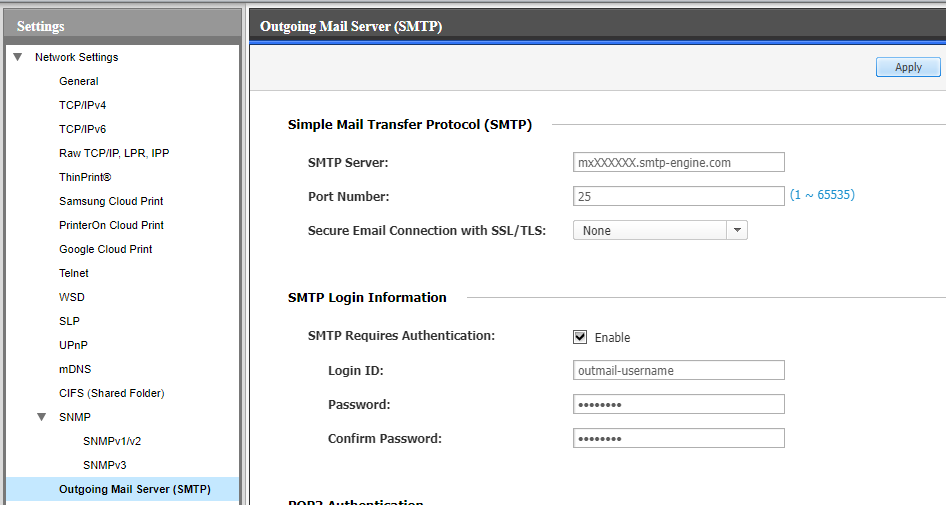
Finally click the Apply button in the top of the page to complete the setup.
Summary of server details
|
Outgoing server |
mxXXXXXX.smtp-engine.com As provided in your signup email. |
|
Outgoing server protocol |
SMTP |
|
Outgoing server port |
25, 465, 587, 2525 or 8025 |
|
Authentication Type |
Basic Authentication, SSL and TLS supported |
|
Username |
As provided |
|
Password |
As provided |
Uninstalling / Removing outMail
To change your outgoing SMTP server settings away from outMail simply follow the setup guide above and where asked to enter the outgoing SMTP mail server address and login credentials please use those provided to you for the service provider you are moving to.